RTL-SDR V3 R820T2 RTL2832U Software Defined Radio with Dipole Antenna Kit
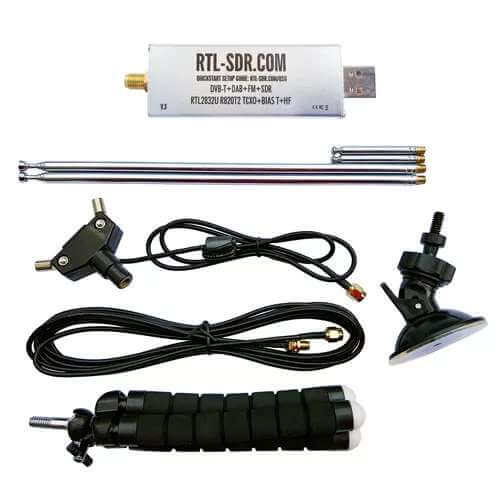
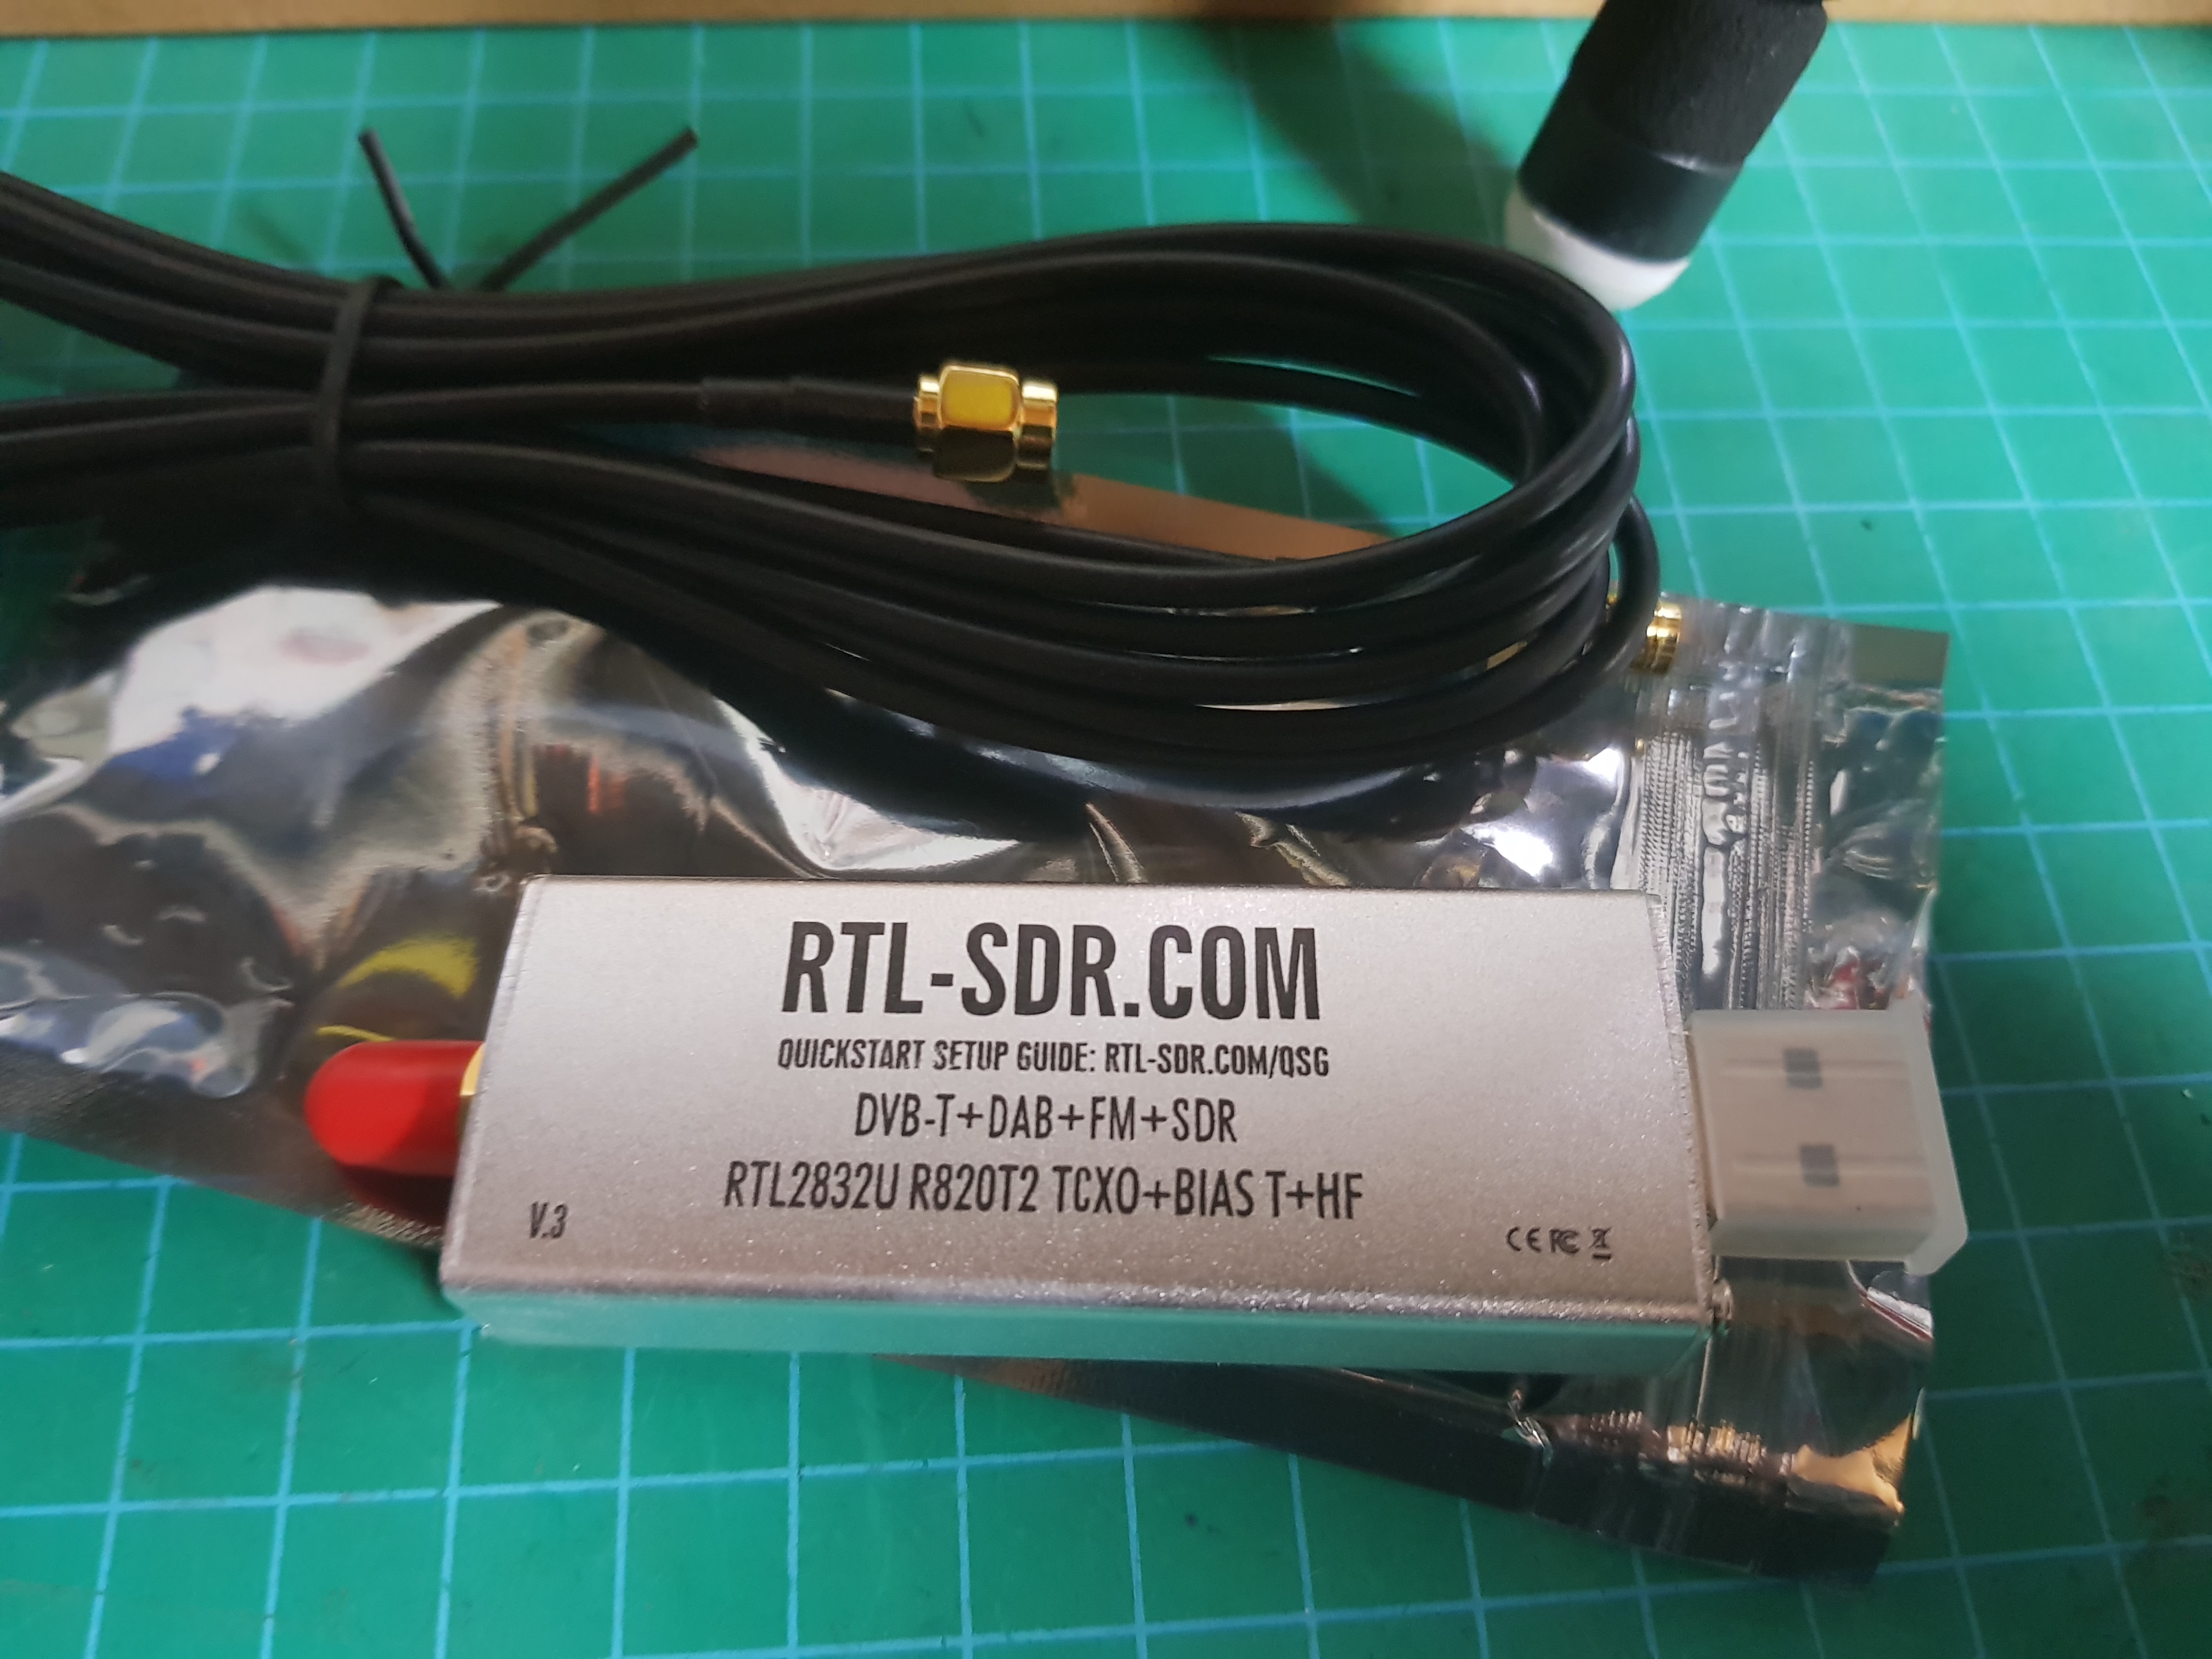
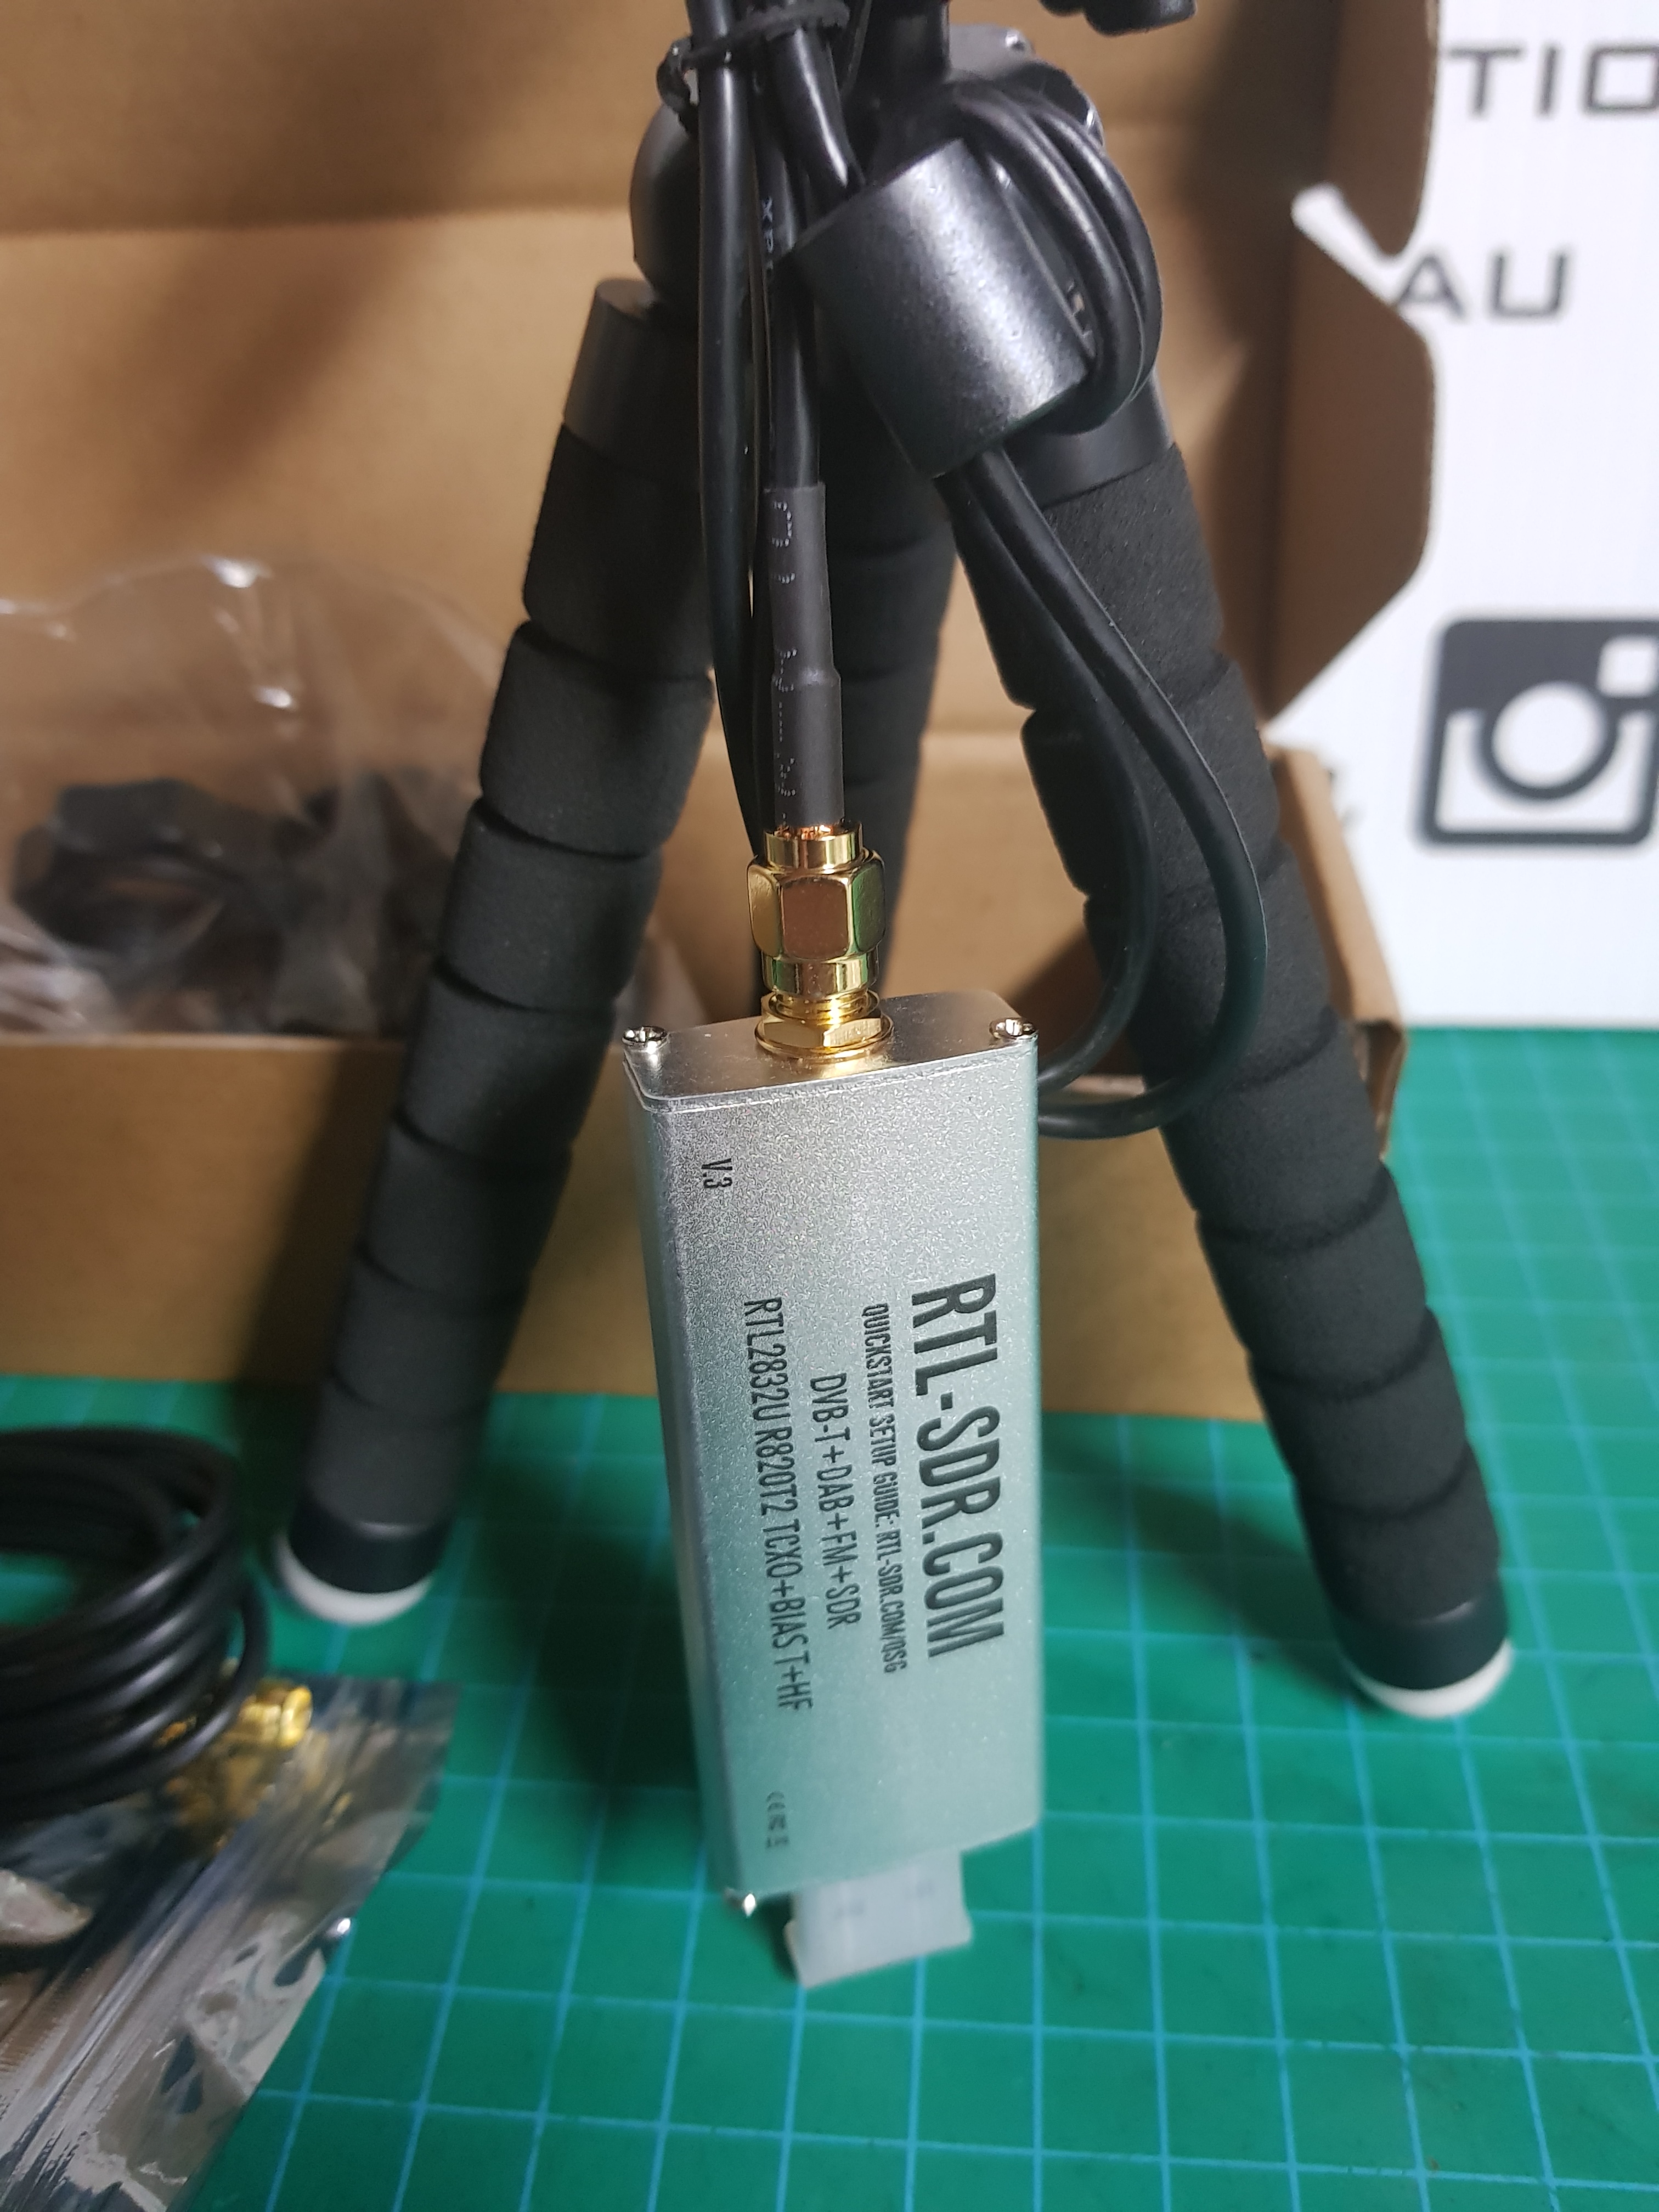
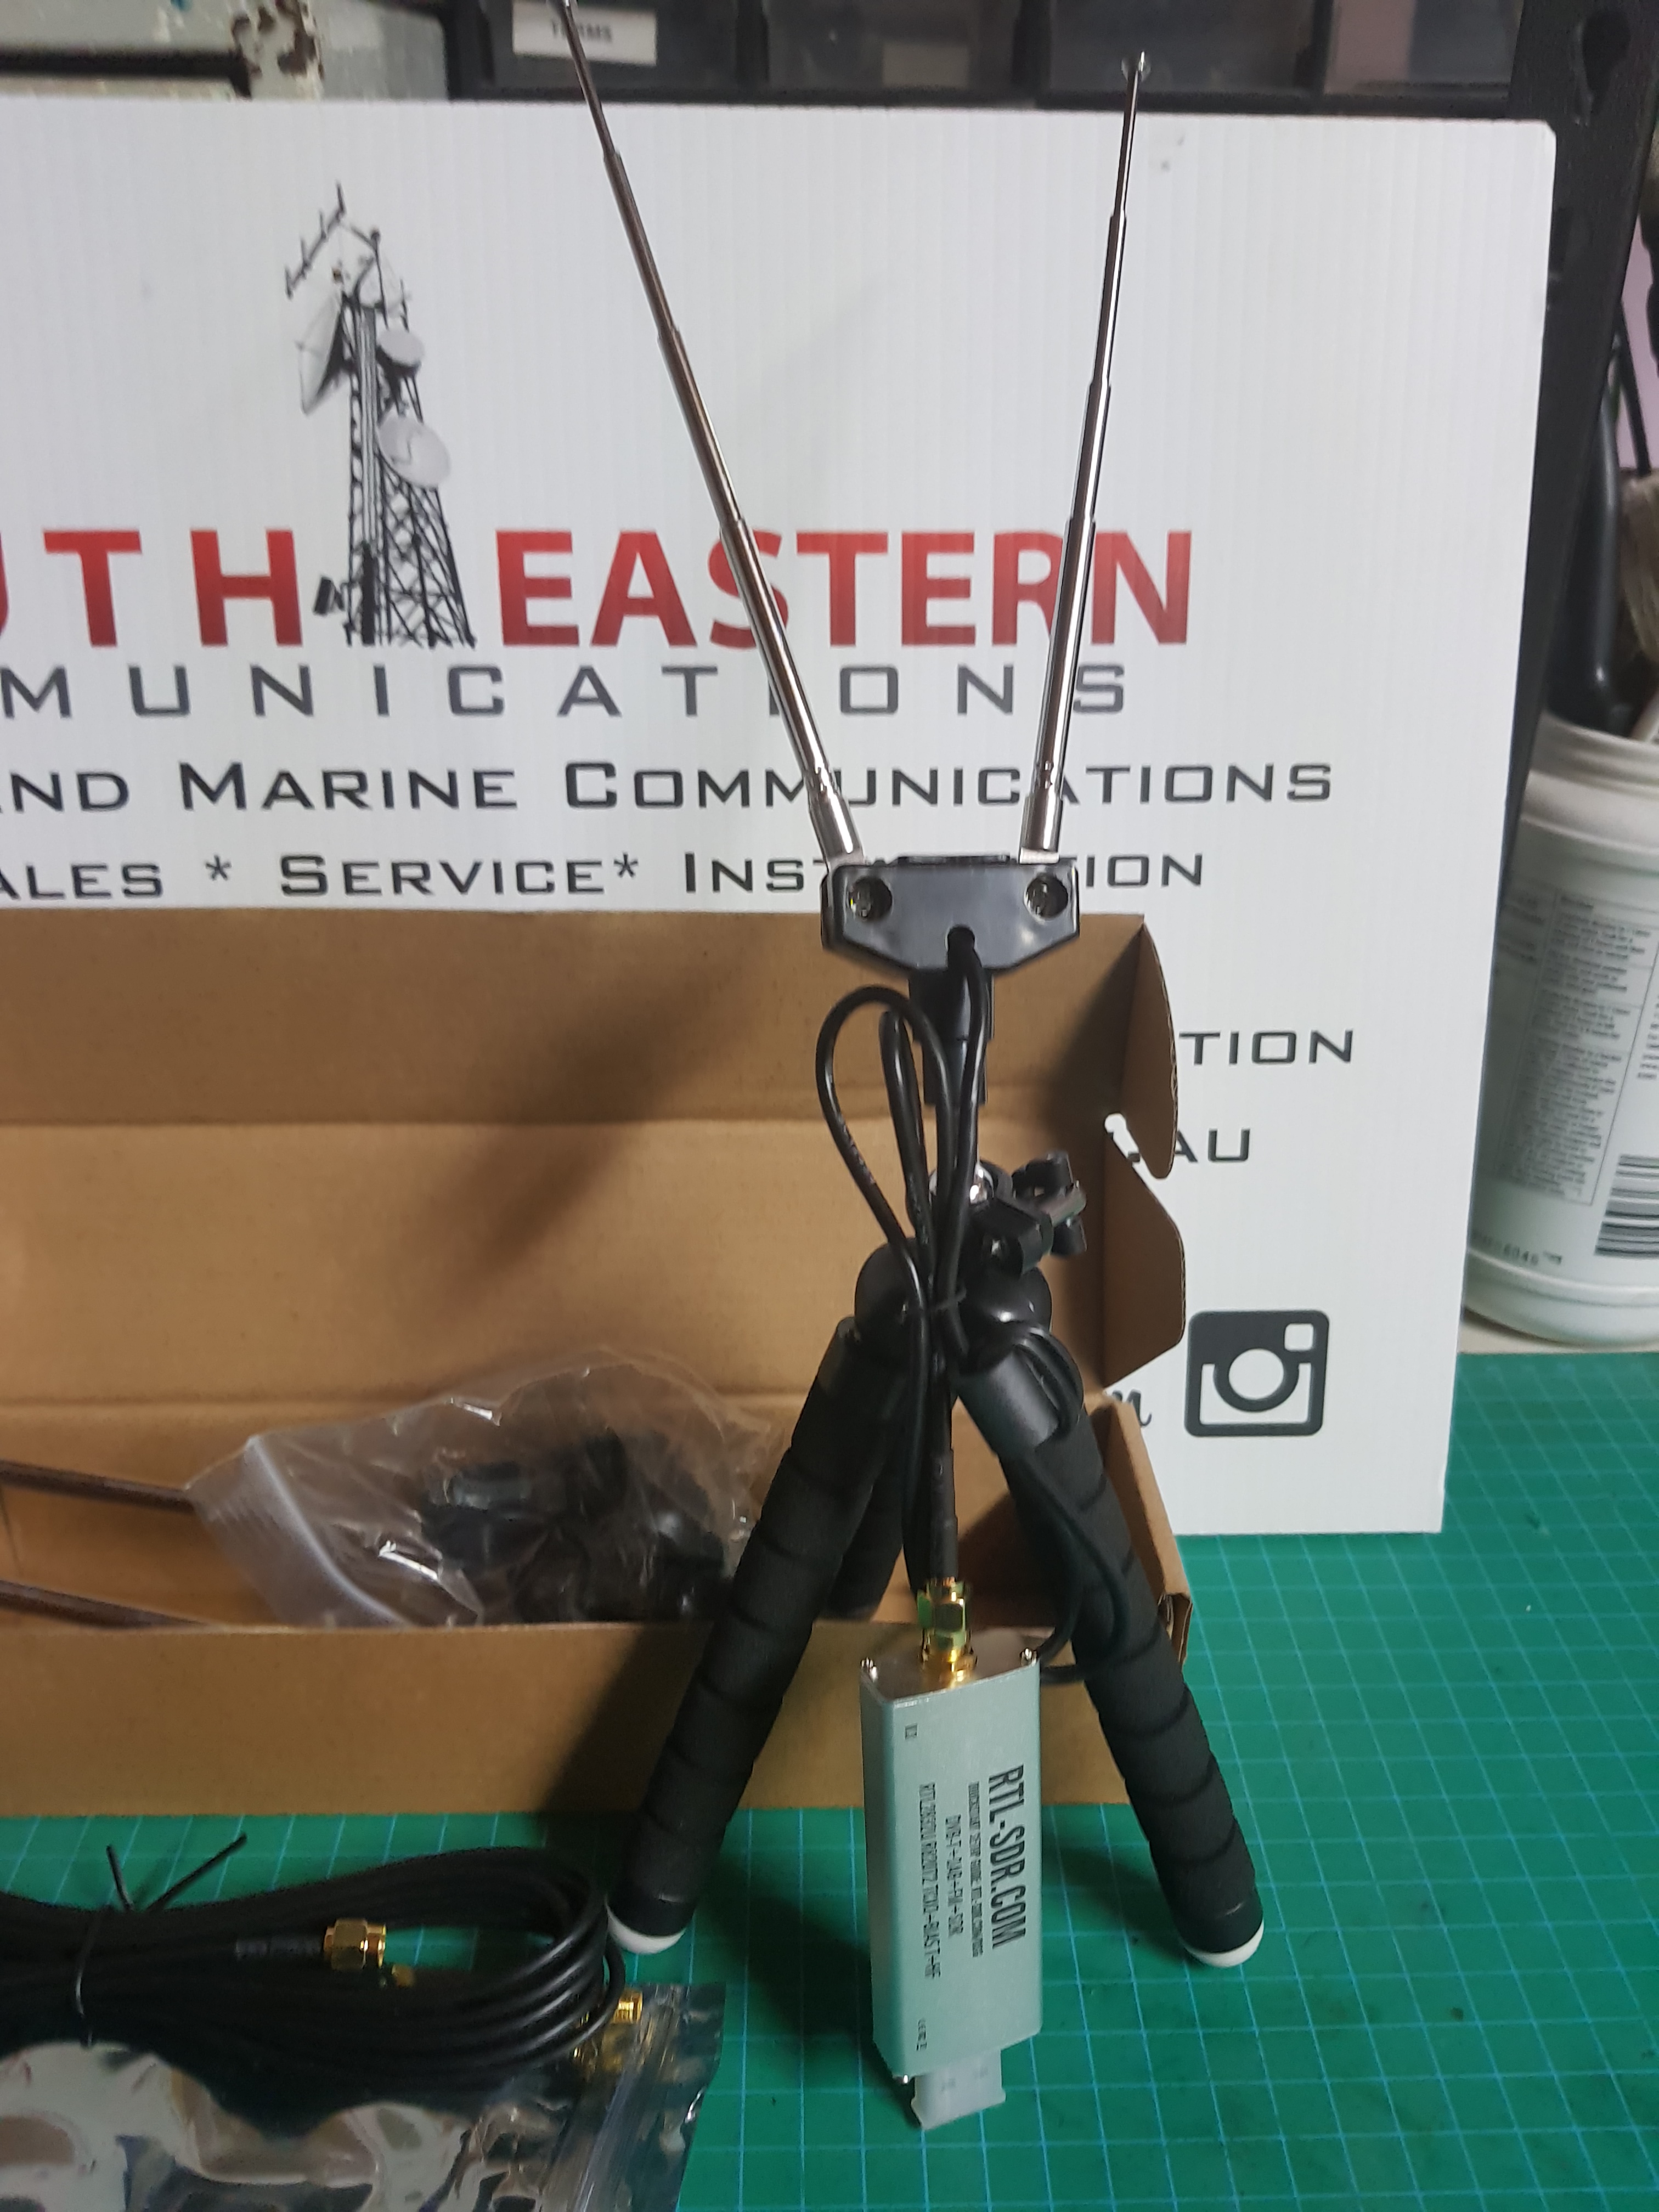
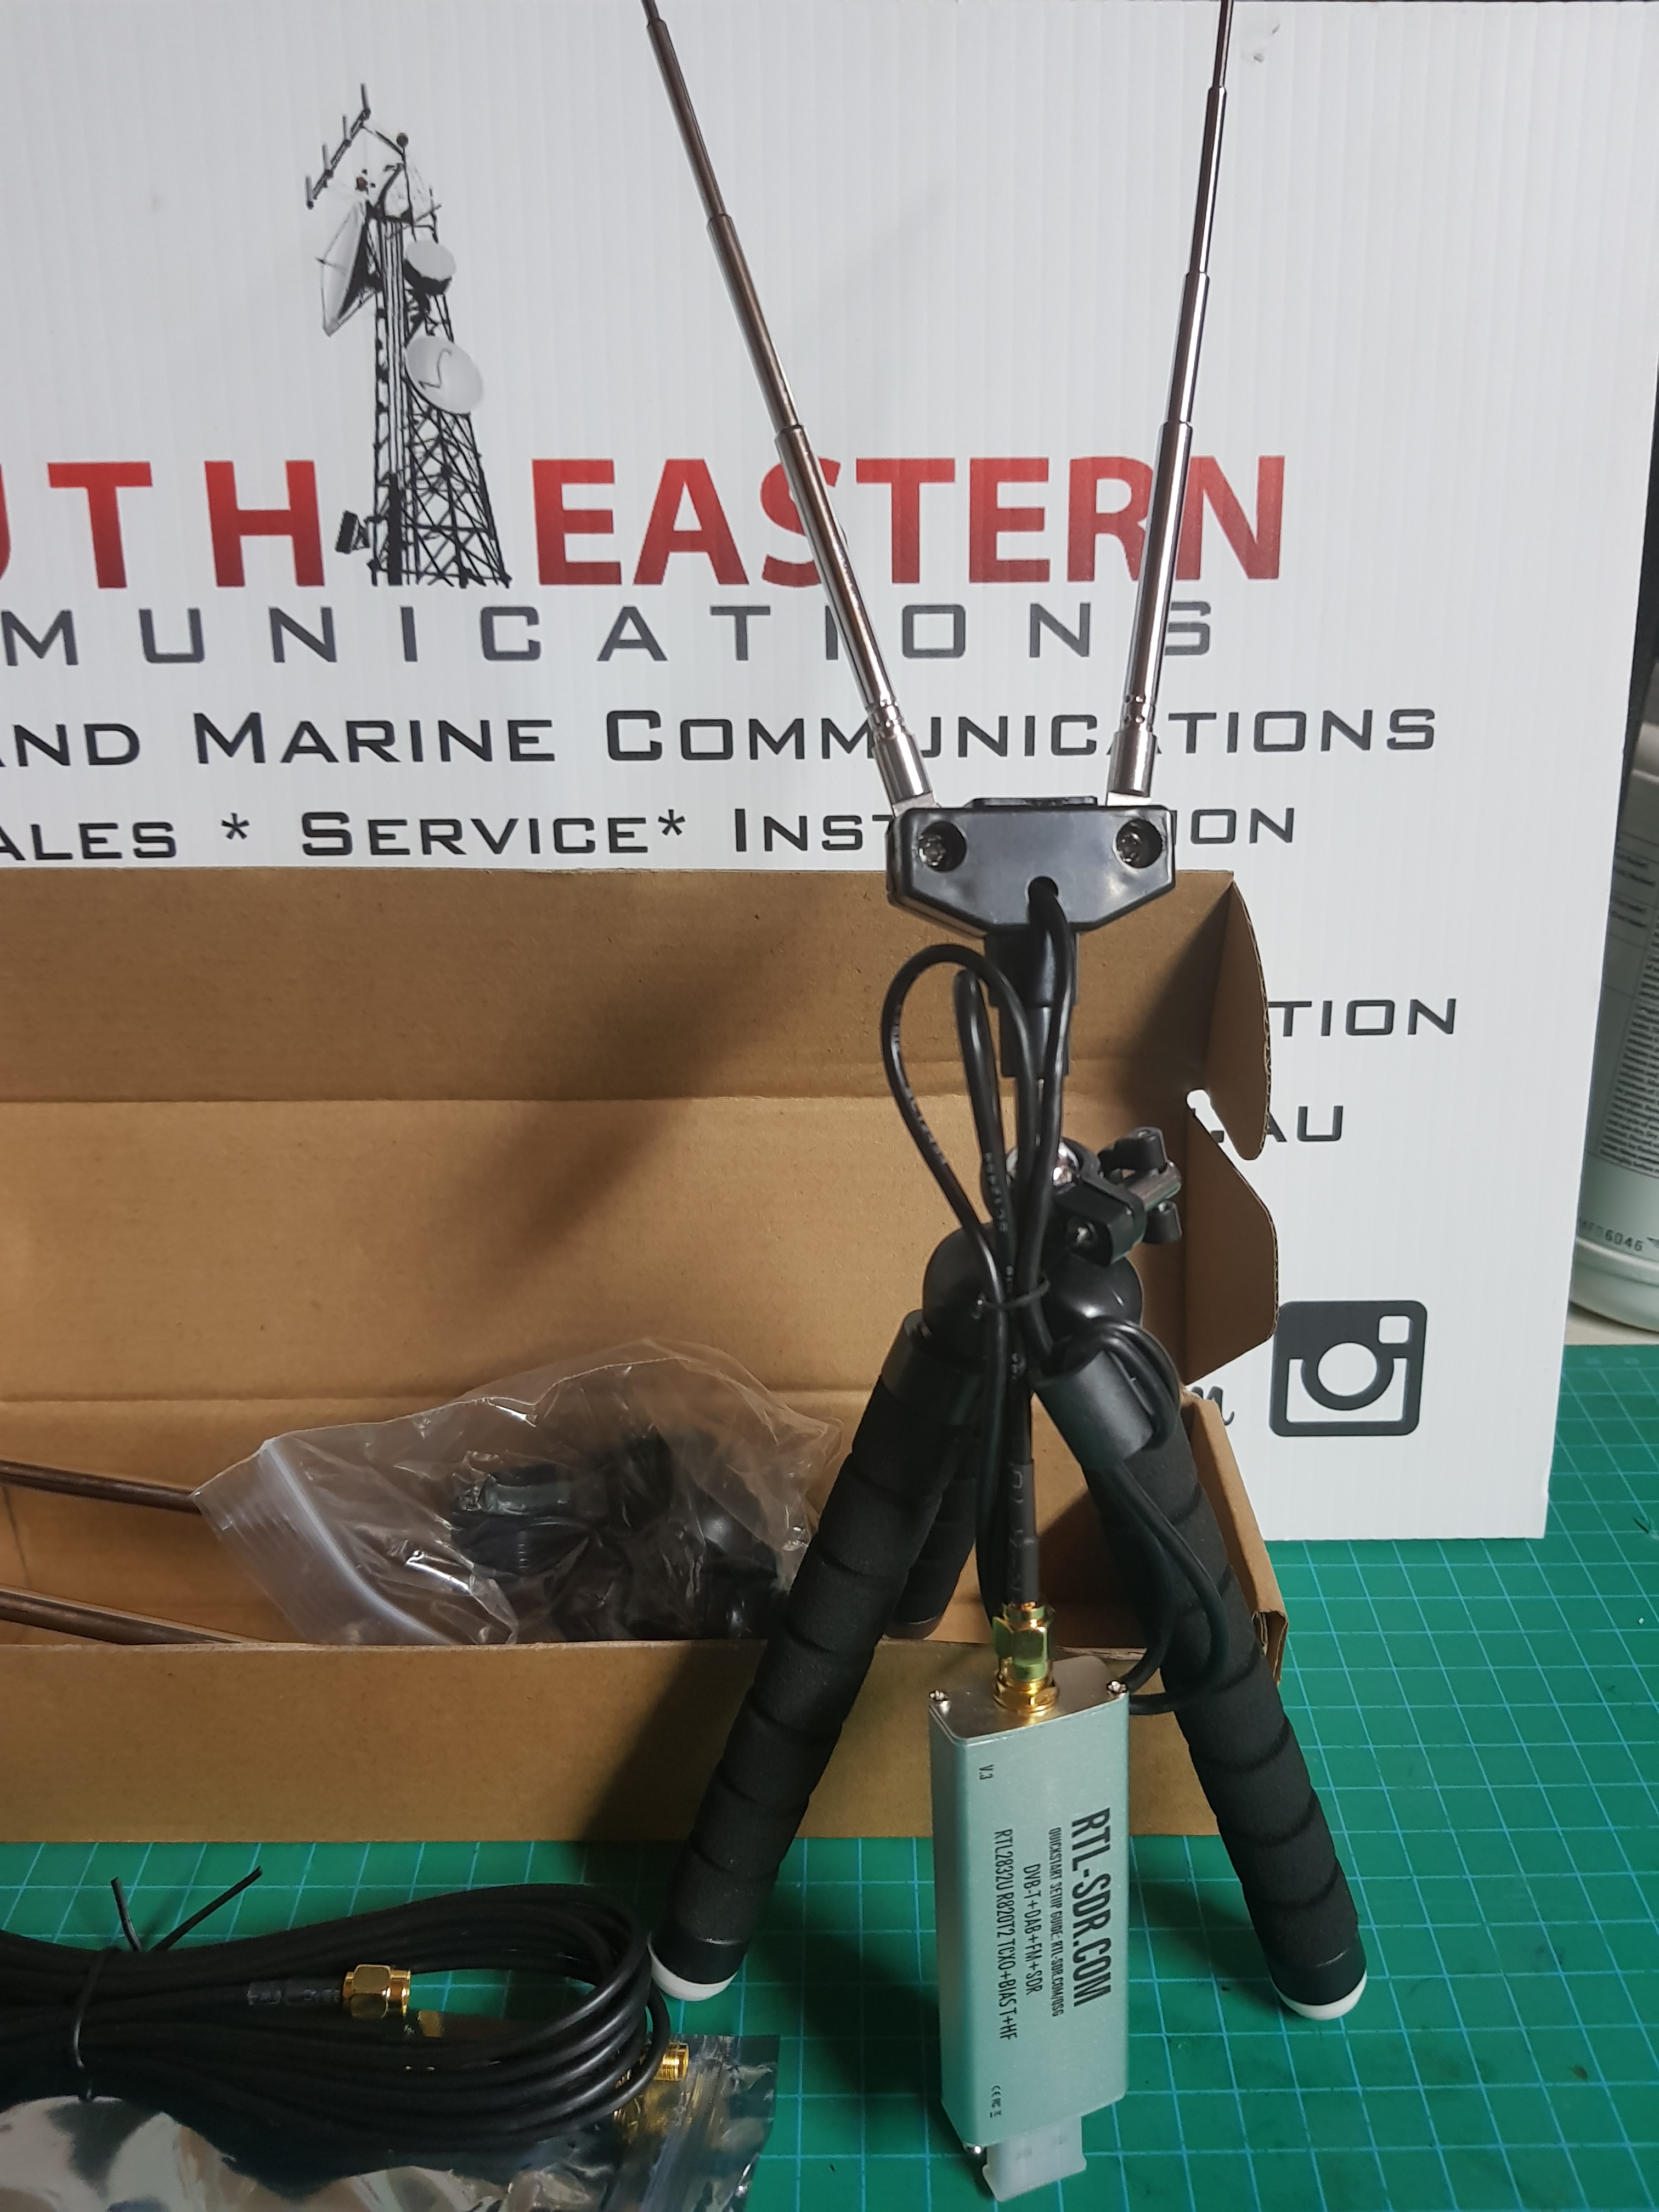
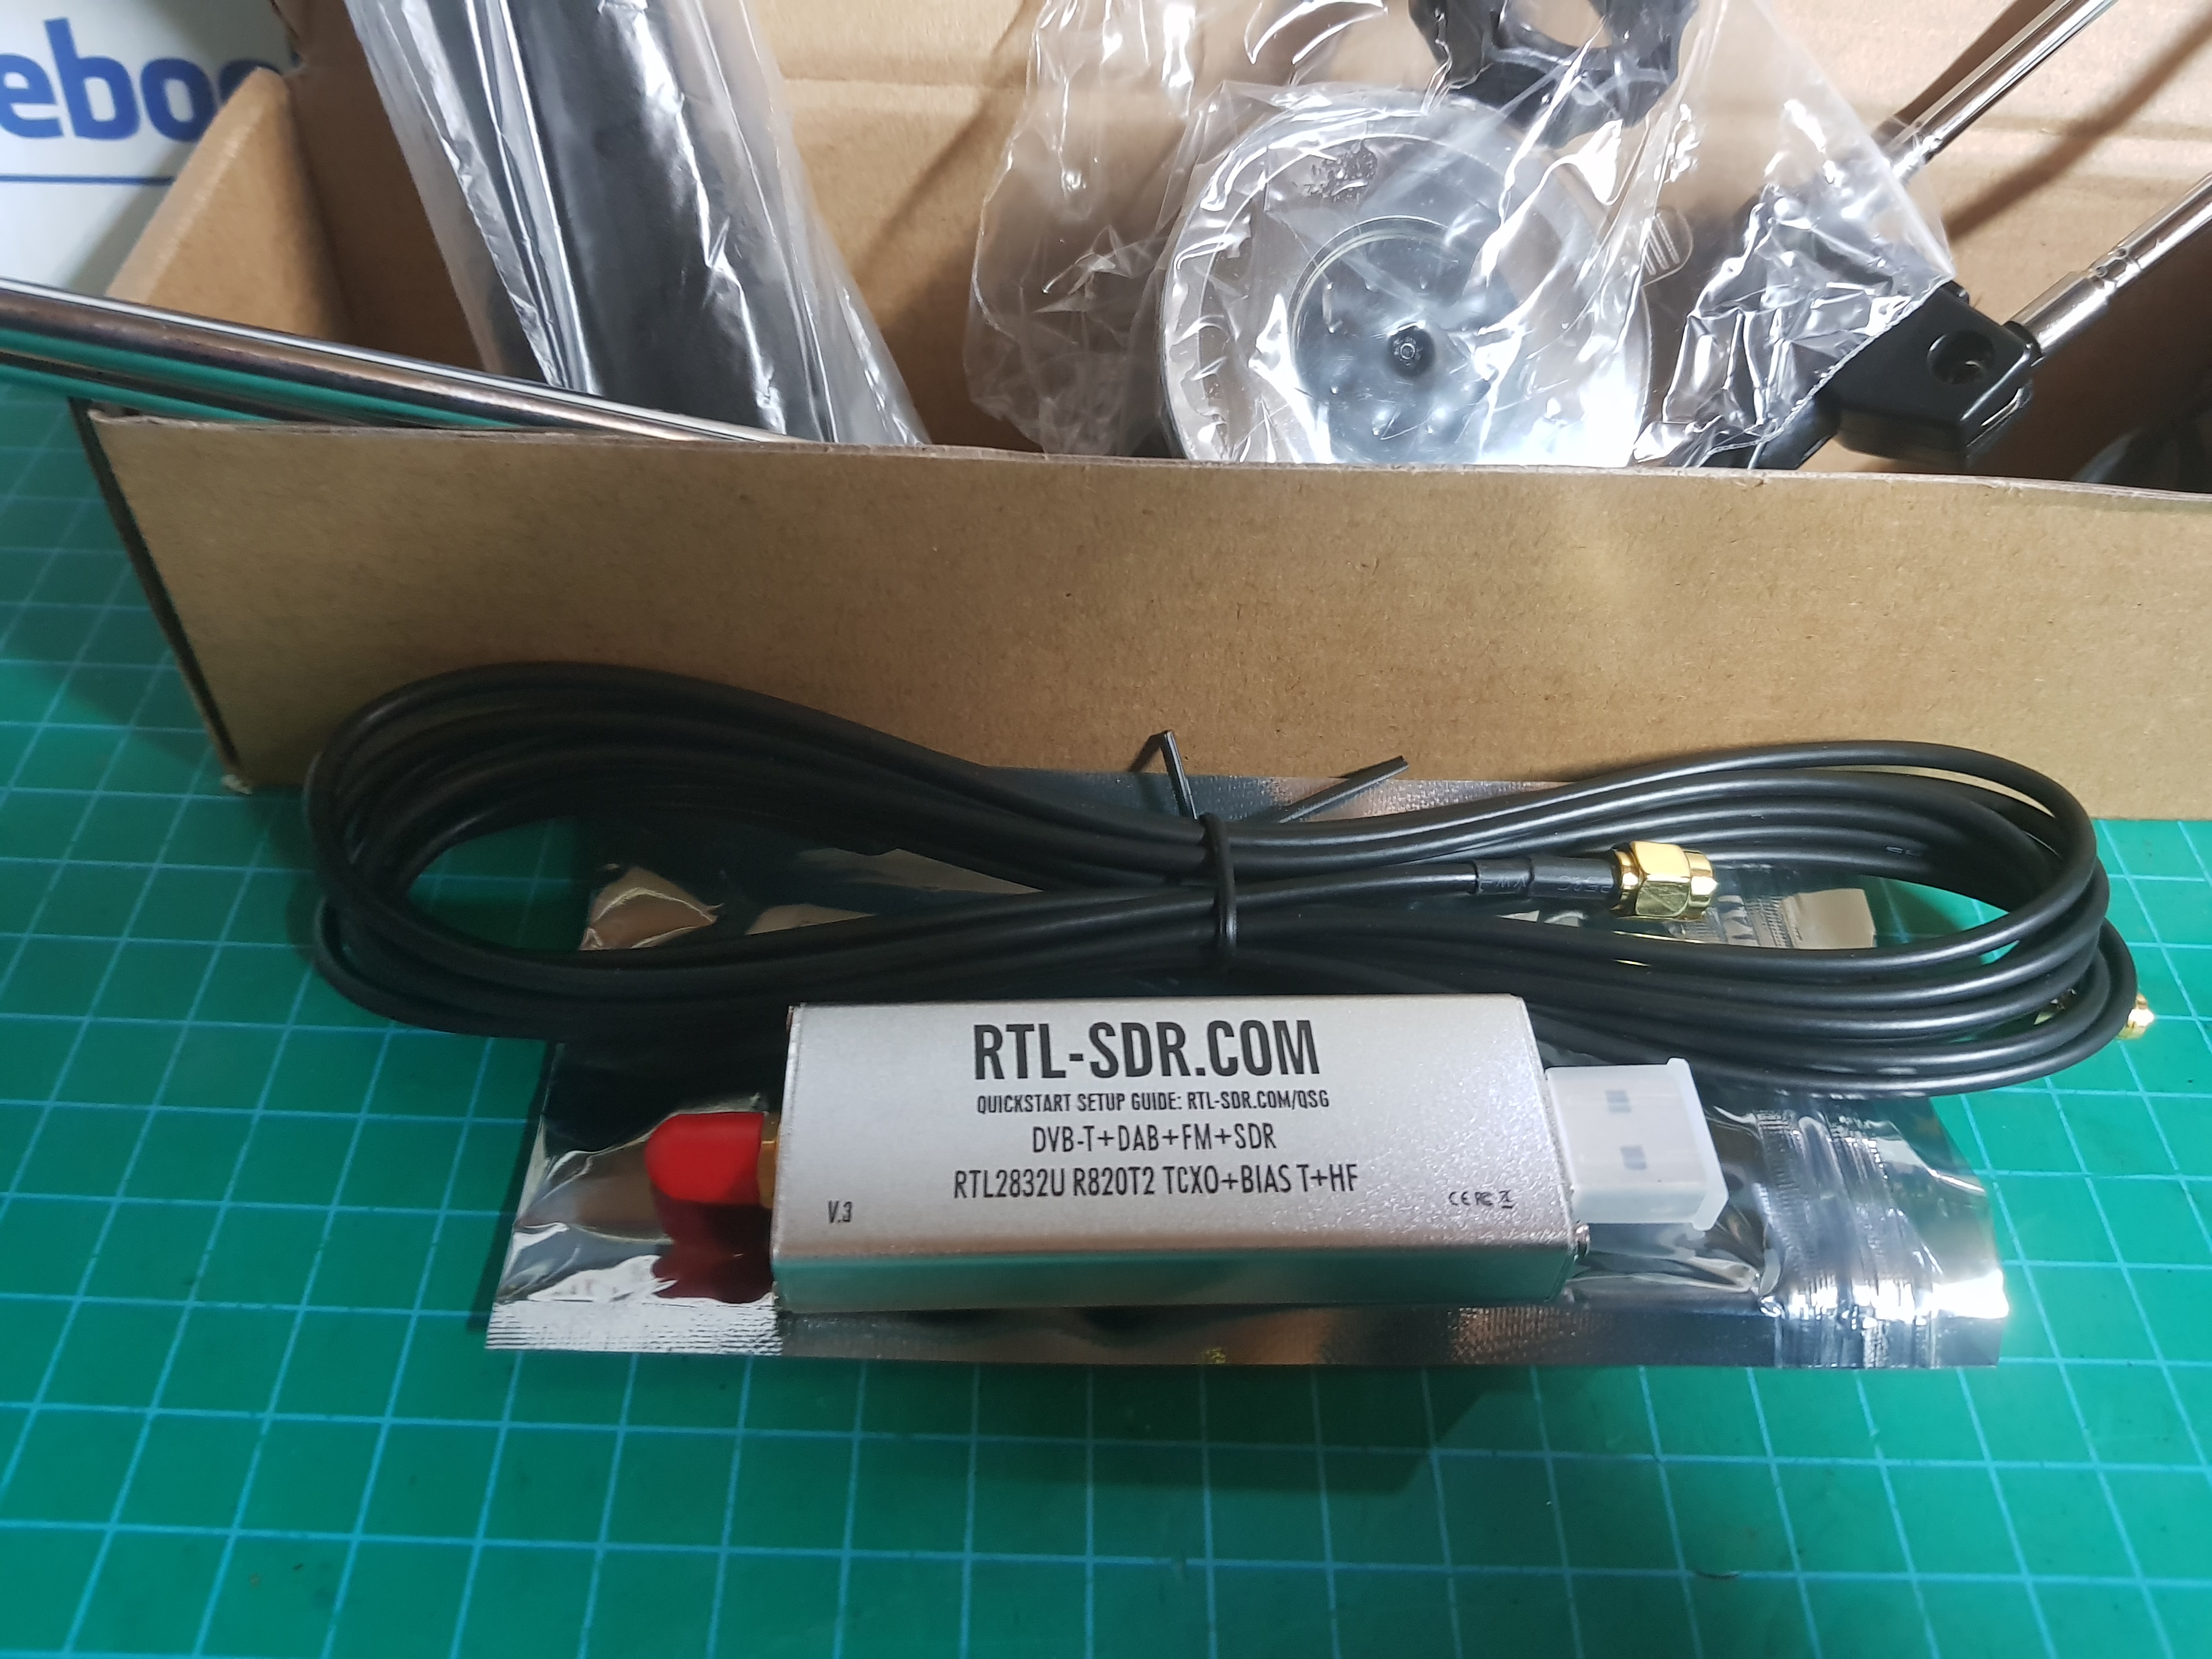
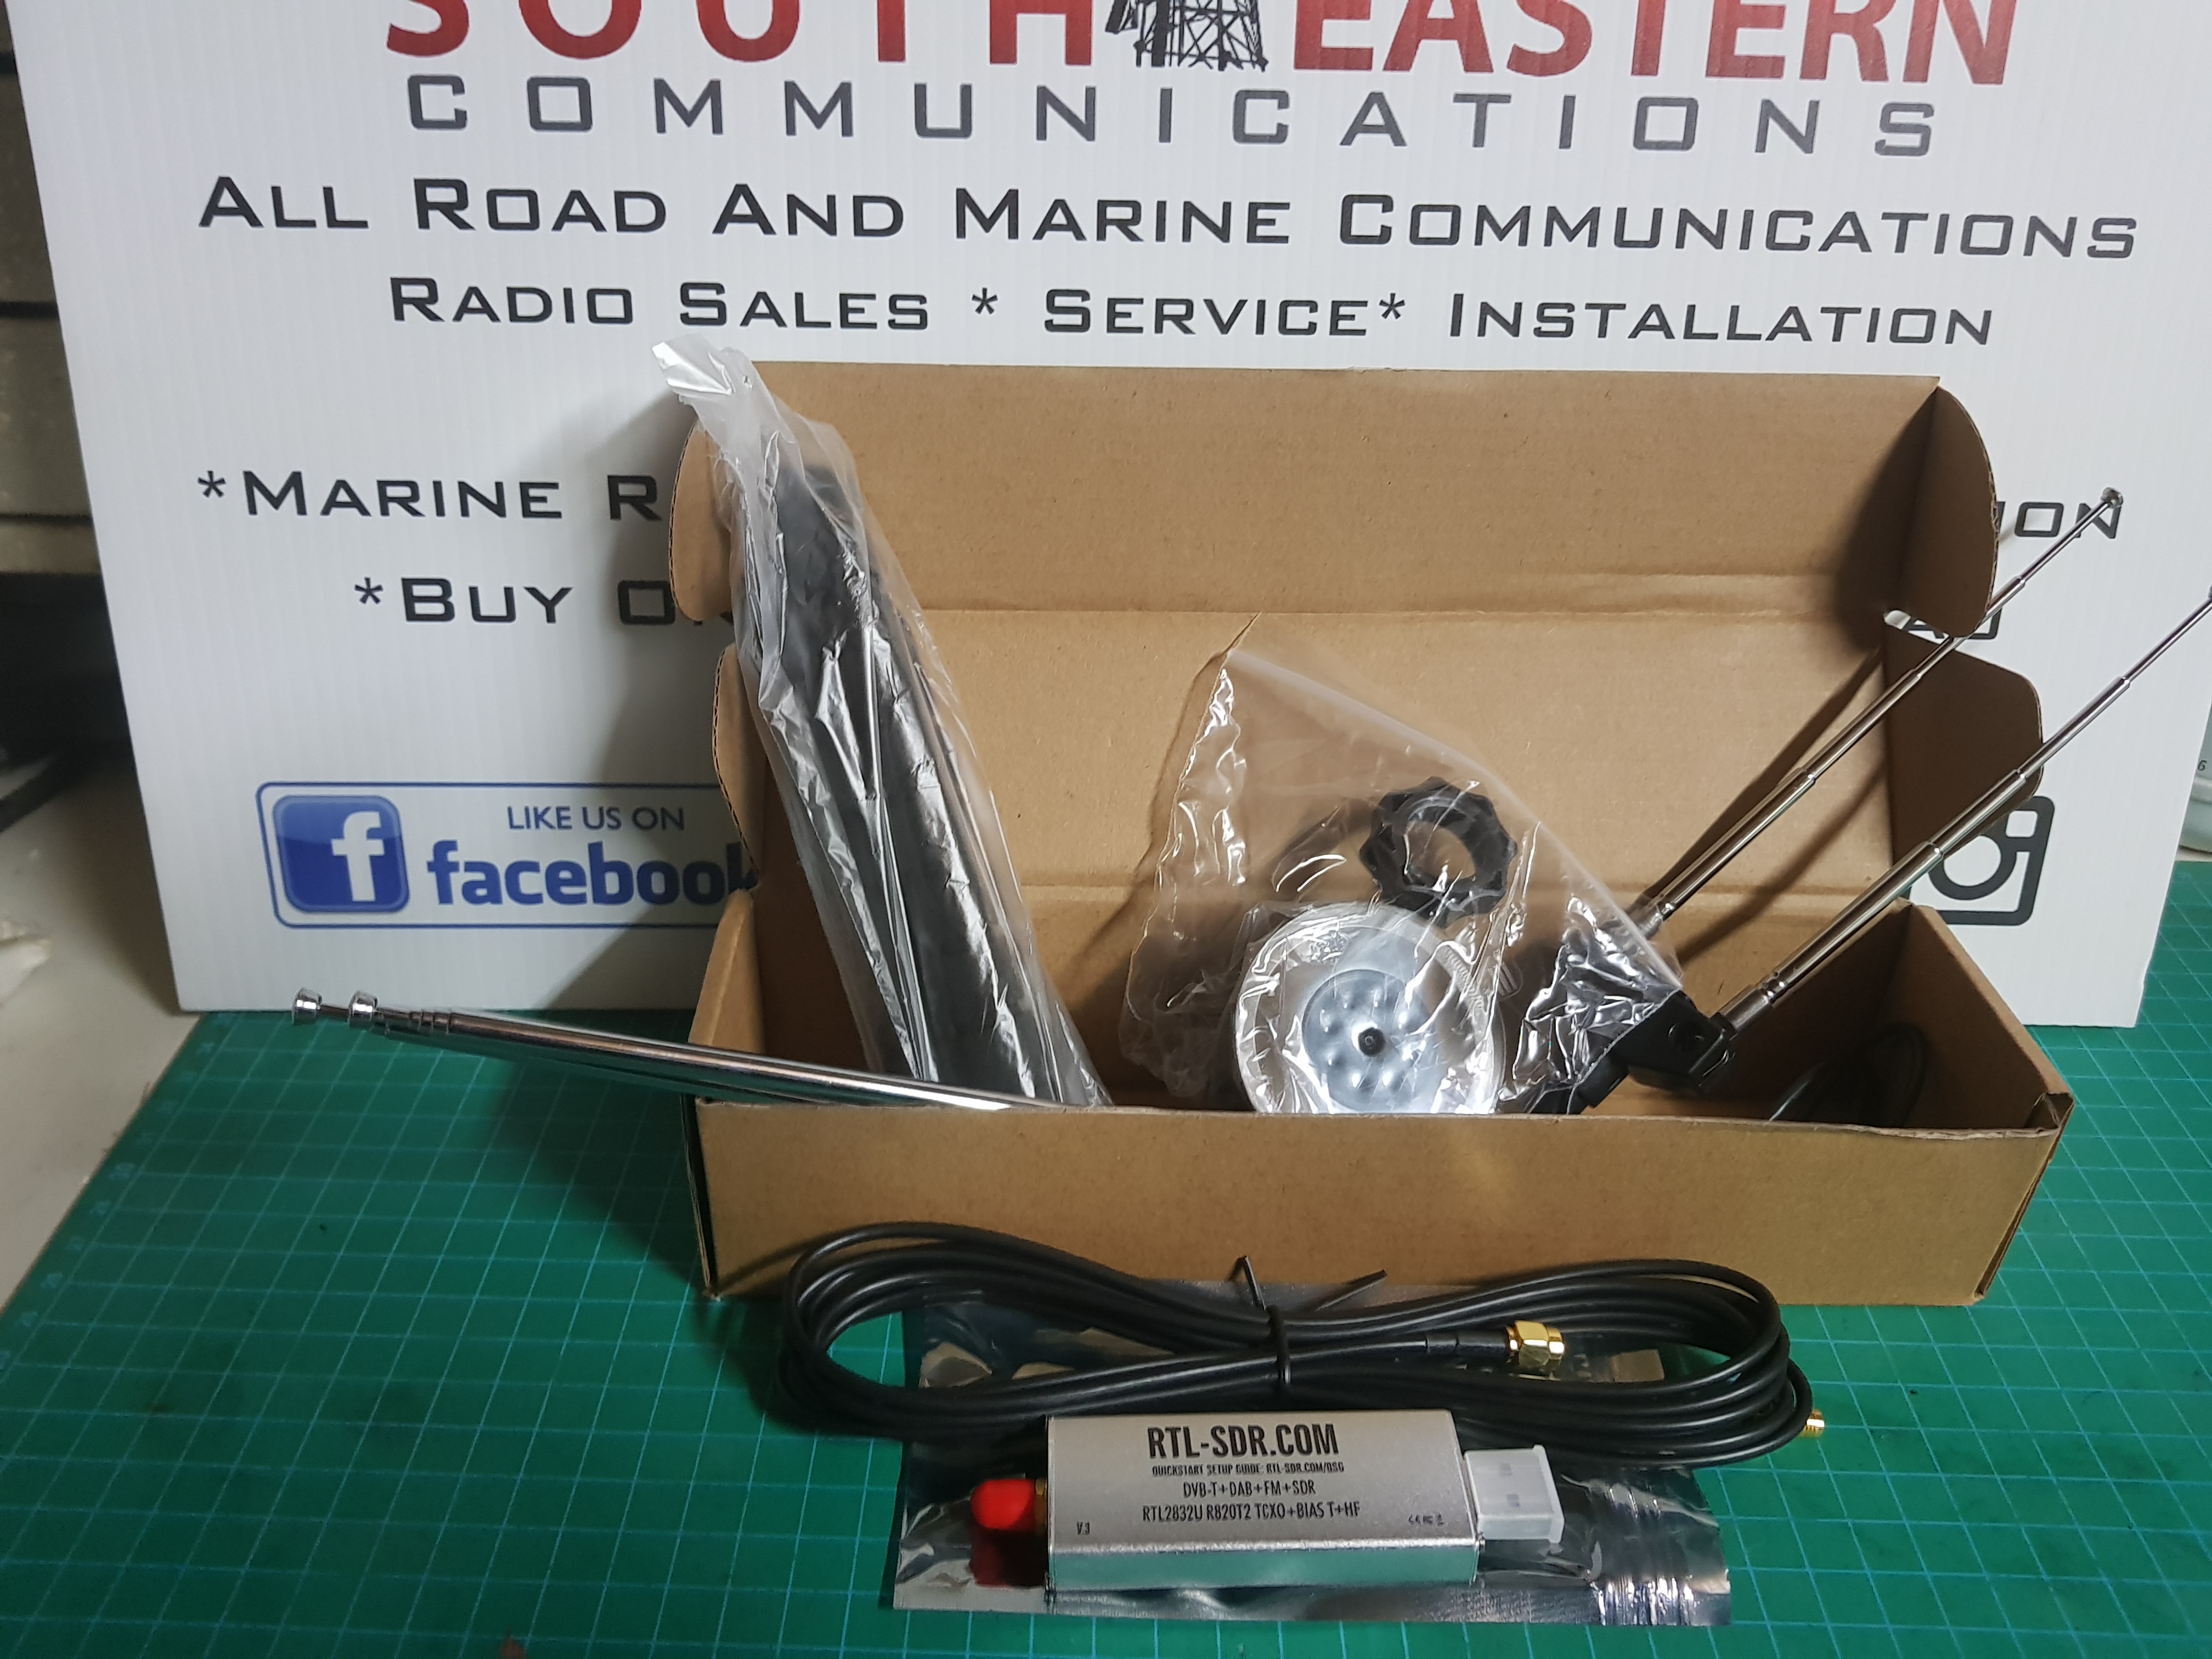
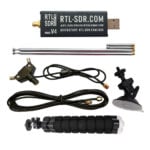
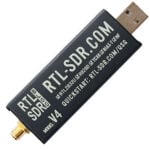
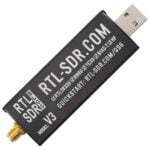
Includes 1x RTL-SDR Blog brand R820T2 RTL2832U 1PPM TCXO SMA V3 Dongle, 1x Dipole Antenna Base with 60cm RG174, 2x 23cm to 1m telescopic antenna, 2x 5cm to 13cm telescopic antenna, 1x 3 meter RG174 extension cable, 1x Flexible Tripod Mount, 1x Suction Cup Mount.
****Before Purchase Please read and understand installation and object of the device ..Please read over the information on both these sites , before purchase
https://www.rtl-sdr.com/about-rtl-sdr/ https://www.rtl-sdr.com/rtl-sdr-quick-start-guide/ *******************
if your having issues with the installation please read and foe the steps here , https://www.rtl-sdr.com/rtl-sdr-quick-start-guide/
****Before Purchase Please read and understand installation and object of the device ..Please read over the information on both these sites , before purchase this includes device compatibility and setup with your existing devices
• Bandwidth: Up to 2.4 MHz stable.
• ADC: RTL2832U 8-bits
• Frequency Range: 500 kHz – 1766 MHz (500 kHz – 24 MHz in direct sampling mode)
• Typical Input Impedance: 50 Ohms
• Typical Current Draw: 270 – 280 mA
Several improvements over generic brands including use of the R820T2 tuner, improved component tolerances, a 1 PPM temperature compensated oscillator (TCXO), SMA F connector, aluminium case with passive cooling, bias tee circuit and break out pads for easy direct sampling modification.
*NEW*: Comes with our new portable Dipole antenna kit. Great for beginners as it allows for terrestrial and satellite reception. Easy to mount outdoors and designed for portable and temporary outside usage. Please do not use outside during poor weather conditions.
- <1 PPM temperature compensated oscillator (TCXO) – Accurate tuning and almost zero temperature drift (2 PPM max. initial offset, 0.5-1 PPM temperature drift)
- SMA female antenna port – Generic dongles use the less common MCX or PAL antenna ports. SMA is more common, so more adapters and antennas are available for it. It is also more durable and has lower RF insertion losses.
- 4.5V USB powered bias tee – This allows the RTL-SDR to power low noise amplifiers (like the LNA4ALL, HABAMP, RTL-SDR Blog ADS-B LNA) and active antennas through the coax cable. Can be enabled in software
- Experimental: HF Direct Sampling Mode – Listen to 500 kHz – 24 MHz with direct sampling. Simply connect an HF antenna to the SMA port, and choose the Q-branch mode. There is a built in 25 MHz low pass filter, but additional HF filters may be required for optimal performance (e.g. to attenuate strong MW AM).
- Aluminium case and passive cooling – These units come stock with an aluminium case and passive cooling via a silicon thermal pad. This stops reception failing above ~1.2 GHz.
- Improved Antennas – We provide an excellent dipole antenna starter kit for newbies. Use the included mounts and extension cable to mount the dipole in good position for optimal reception. Receive terrestrial or VHF satellite signals with it.
- Various additional improvements compared to other RTL-SDRs – R820T2 tuner, higher quality passive components, a choke on the USB line to reduce USB noise, a much improved PCB design for significantly less internal spurs and noise, various break-out pads, improved ESD protection, additional bypass capacitors and ferrite power line chokes, improved front end matching circuit and a better LDO.
- The RTL-SDR Blog V3 is an improved RTL-SDR dongle. RTL-SDR dongles were originally designed for DVB-T
HDTV reception, but they were found by hardware hackers to be useful as a general purpose SDR. The
standard dongles are okay for DVB-T reception, but are just barely suitable for SDR users/experimenters.
The RTL-SDR Blog V3 was redesigned with SDR user needs in mind, instead of DVB-T HDTV users who
typically have more relaxed requirements.
Basic Information
• Bandwidth: Up to 2.4 MHz stable.
• ADC: RTL2832U 8-bits
• Frequency Range: 500 kHz – 1766 MHz (500 kHz – 24 MHz in direct sampling mode)
• Typical Input Impedance: 50 Ohms
• Typical Current Draw: 270 – 280 mA
Required Computing Hardware
Same requirements as a regular RTL-SDR. Compatible with Windows XP and above (SDR# requires Win 7
or newer), Linux, MacOS and Android. A dual core machine is recommended.
Single board PCs like the Raspberry Pi, Odroid, C.H.I.P are also supported with most command line apps.
RTL-SDR V3 Improvements over generic models
TCXO
The V3 uses a 1PPM TCXO for excellent frequency stability. The temperature drift is around 0.5 – 1 PPM,
and the initial offset is 0 – 2 PPM. This means that the signal will not drift on the spectrum as the dongle
or ambient temperature changes. Also, the frequency offset will be close to zero. Standard dongles have
a PPM offset of up to 100PPM, and tend to drift a lot. Using a TCXO solves these problems.
SMA Connector
Typical RTL-SDR dongles use a relatively obscure MCX RF connector. The V3 uses commonly used SMA
connectors, so it is easy to obtain adapters, connectors and antennas for the unit. SMA connectors also
last longer.
Aluminium Enclosure
Unlike standard RTL-SDR’s, the V3 comes standard with an aluminium enclosure. The enclosure has two
purposes. The first is to help block any RF interference from entering through the PCB. The second is to
act as a heatsink to the PCB.
Improved Heat Dissipation
Typical R820T/2 RTL-SDR dongles tend to lose PLL lock in L-band at around 1.5 GHz and above, causing a
loss of reception to those frequencies. The reason is due to the high heat generated by the R820T2 chip.
The V3 uses a thin thermal pad to thermally bond the PCB and metal enclosure together. This allows the
metal case to work as a heat sink, which solves the PLL lock problem. Ideally the thermal pad should be as
thin as possible to enhance maximum heat transfer, and we have designed the enclosure so that the
thermal pad only needs to be 3mm thick.
The V3 also uses a larger ground plane on the middle layers of the PCB which also helps with heat
dissipation.
R820T2 Chip
Older RTL-SDR units used the R820T chip. There is a newer R820T2 which has slightly better
manufacturing tolerances. The R820T2 is produced in a factory with higher quality silicon which allows for
more reliable chips. A side effect of the better silicon is overall slightly better and more stable sensitivity
across manufacturing runs compared to the R820T, and less PLL lock problems at L-band frequencies.
Improved ESD protection on the RF front end
The BAV99 diode which is used on most RTL-SDR dongles is not a true ESD rated diode. We have added a
real ESD rated diode for better protection. The BAV99 remains in the circuit as it works a strong signal
clipper, which prevents damage to the R820T2 from overly strong signals. Please remember that not even
this will save your radio from a lightning strike or huge ESD impulse, and any permanently outdoor
mounted antenna system must have its own lightning and ESD protection. To help avoid lightning
damage unplug your antenna during a storm and when the dongle is not in use.
Improved front end circuit
The standard matching circuit on the RTL-SDR was designed for DVB-T use, and tends to attenuate signals
above ~1 GHz. The new matching circuit has less attenuation above 1 GHz and similar performance
below. We have used high quality, high SRF, high Q inductors in this circuit.
Software switchable 4.5v bias tee.
The V3 makes use of a low noise LDO and one of the GPIO pins on the RTL2832U to provide a 4.5V bias
tee that can be activated in software. The bias tee can pull about 180 mA continuously so is suitable for
the majority of 3-5V powered LNAs that are popular with RTL-SDR devices. The bias tee is protected
against accidental short circuits at the LDO level, and with a thermal auto-resetting PTC fuse. See
‘Activating the Bias Tee’ for more information on software for activating the bias tee.
This bias tee is great for powering a remote LNA (like Adams PSA5043+ based LNA4ALL) or something like
the SpyVerter upconverter.
Bias Tee Warning: The bias tee thermal fuse or LDO could be damaged if you short circuit the bias tee for
long periods of time. Before turning on the bias tee, ensure the circuit to be powered is not shorted, or
that the RTL-SDR is not connected to a DC shorted antenna!
Lower Voltage Operation
The V3 uses an LDO that has a much lower ‘dropout’ voltage compared to the typical AMS1117 LDO used
on most dongles. Hence the V3 should run better on long USB extension cables.
Long USB cables tend to drop the 5V USB voltage down to lower levels. Below about 4V the AMS1117
stops working. The LDO used in the V3 works almost down to 3.3V.
Of course, with low voltages from long USB cable, the bias tee will be unable to put out 4.5V. At low
voltages the bias tee LDO will revert to a non-filtered voltage slightly under the supply.
Reduced noise with a modified PCB design
Typical RTL-SDR dongles use 2-layer PCB designs and route signal lines improperly. The V3 uses a
modified 4-layer PCB design which helps to significantly reduces clock spurs and noise pickup.
The V3 also adds a USB common mode choke on the USB data lines to reduce USB noise, adds SMD
ferrite chokes on the PCB power lines, and uses a lower noise LDO.
HF direct sampling circuit, diplexed out from the SMA connector
The idea behind direct sampling mode is that an antenna can be connected directly to the ADC pins of the
RTL2832U, and this can enable HF reception. This is useful because the R820T/2 tuner can only tune
down to about 24 MHz at the lowest. On typical R820T RTL-SDR dongles one can enable direct sampling
mode by soldering a wire to the Q-branch pins of the RTL2832U. The RTL2832U samples at 28.8 MHz, so 0
– 14.4 MHz, and 14.4 MHz – 28.8 MHz can be listened to.
The V3 has direct sampling mode implemented in hardware already, so no hardware mods are required
to listen to HF via direct sampling.
To split the HF signal out at the SMA connector, a diplexer tuned to 25 MHz is used. A 10dB buffer
preamp sits after the diplexer which helps to boost the signal and overcome losses in the subsequent
filter and impedance transformer. After the preamp is a 24 MHz low pass filter and then an impedance
matching and single to double ended transformer. The addition of the preamp, filter and transformer
ensures good direct sampling performance.
The result is that 500 kHz to about 24 MHz can be received in direct sampling mode.
Direct sampling could be more sensitive than using an upconverter, but dynamic won’t be as good as with
an upconverter. It can overload easily if you have strong signals since there is no gain control. And you
will see aliasing of signals mirrored around 14.4 MHz due to the Nyquist theorm. But direct sampling
mode should at least give the majority of users a decent taste of what’s on HF. If you then find HF
interesting, then you can consider upgrading to an upconverter like the SpyVerter (the SpyVerter is the
only upconverter we know of that is compatible with our bias tee for easy operation, other upconverters
require external power).
If you search on YouTube for “RTL-SDR V3”, you will find several videos showing what you can get in
direct sampling mode. Most people are surprised at how good it can be, but also many users will need a
broadcast AM filter to reduce overloading. We sell a suitable broadcast AM filter on our store www.rtlsdr.com/store.
Expansion pads on the PCB
Access pads for the unused GPIO pins, CLK in/out, 3.3V, GND and I2C pins have been added. The CLK
input/output is disconnected by default. Access pads for the I branch have also been added as some users
and industrial customers are using these in special projects. These pads are only for advanced users who
need them for special projects. Take care as these pins are not ESD protected.
Clock selector jumper
By soldering in a 4 pin 1.27mm pitch jumper header and removing the default 0 Ohm resistor, one can
now easily select between the onboard clock, an external clock, or having the on board clock be the
output for another dongle. This is for advanced users only who want to experiment with things like
passive radar, and coherent receivers.
Corner mounting holes for those who want to stack PCBs.
Some customers have been building devices that require multiple RTL-SDR dongles, and these standoff
holes should aid in stacking.
Feature Information
Feature 1: Direct Sampling HF Mode
This feature allows you to listen to HF signals between about 500 kHz to 28.8 MHz.
To use direct sampling mode first connect an appropriate HF antenna to the SMA antenna port (this is the
same port where you connect your VHF/UHF antenna).
In SDR# select the Q-branch in the configure menu (the cog icon next to the play button). (If it is greyed
out make sure you stop the SDR first, by clicking the stop button in SDR#)
Press Play and tune to 500 kHz – 28.8 MHz.
VHF antennas like small discones or short whip antennas will probably not pick up HF signals very well, if
at all. If you have no such antenna you might get something with the large telescopic antenna extended
to its maximum length of 1.5m, but really this is still not long enough for HF. You can instead use the
screw nut provided with the antenna base to clamp on a long wire antenna that is 5 meters or more in
length. Ideally you should use a 9:1 unun with the long wire antenna for optimal reception but it is not
totally necessary. Even more ideally you’d use an antenna tuner, though this is expensive.
Other software like HDSDR and GQRX can also support direct sampling. It may entail setting a device
string, and for the Q-branch, the value should be 2. In GQRX the device string would be
“rtl=0,direct_samp=2” (without the quotes). Make sure that there is no space after the comma.
To go back to listening to frequencies above 28.8 MHz remember to change the sampling mode back to
“Quadrature Sampling”.
Note that this feature makes use of direct sampling and so aliasing will occur. The RTL-SDR samples at
28.8 MHz, thus you may see mirrors of strong signals from 0 – 14.4 MHz while tuning to 14.4 – 28.8 MHz
and the other way around as well. If these images cause problems, then to remove them you will need to
use a low pass filter for 0 – 14.4 MHz, and a high pass filter for 14.4 – 28.8 MHz. Either that or you can
simply filter your exact band of interest.
********************************Please note all software and installation info is available on the rtl sdr website , some computer knowledge and experience is required *****************
****Before Purchase Please read and understand installation and object of the device ..Please read over the information on both these sites , before purchase
https://www.rtl-sdr.com/about-rtl-sdr/ https://www.rtl-sdr.com/rtl-sdr-quick-start-guide/ *******************
if your having issues with the installation please read and foe the steps here , https://www.rtl-sdr.com/rtl-sdr-quick-start-guide/
****Before Purchase Please read and understand installation and object of the device ..Please read over the information on both these sites , before purchase this includes device compatibility and setup with your existing devices


 or 4 payments of
Reviews
There are no reviews yet.